Thursday, November 22, 2012

Buffet Lamps

Here they are--these nifty little lamps I found for a great deal!  You all know, by now, that my husband thought I was out of my mind for buying these babies.  But, I'm so glad I totally disregarded his pessimism and didn't let myself be discouraged by his nay-saying! ;)  


 Before

I think maybe it was the bling at the bottom of the shade that threw him! lol!  Seriously, I didn't think they were THAT bad just the way they were. :)


 After

You have to admit, bad or not, THESE are much better!!


You can find the tutorial for the shade and the rosette here (shade) and here (rosette).


I think the buffet and the lamps are going to be my Christmas presents to myself!!  Woo hoo! :)


Happy Thanksgiving!!

These lamps were featured by Clydia over @
Three Mango Seeds


Linked up here:
Accidently Wonderful


Photobucket
{Primp}

Homespun Happenings
PhotobucketA Diamond in the Stuff
Funky Junk Interiors
In The Old Road
Three Mango Seeds
The Chicken Chick

Wednesday, November 21, 2012

25 Reasons Why I Love What I Do!


While the boys were out hunting today Ania and I stopped for a treat. While we were waiting she said, "Mom, what is your most favorite thing about your job?" I thought it was a sweet question and it made me think. 

So, in the spirit of Thanksgiving and my "job"
 here are

25 things

 I love about what I do. :)


I love:

1. Finding something othe
r people think is ugly and knowing there's potential for it to be beautiful again. Beauty IS in the eye of the beholder, right?

2. The feel of a medium grit sanding block under my fingertips.

3. The way really old finish just flakes right off when you barely touch it with the sandpaper.

4. How chalky the primer feels--it's like touching baby powder.

5. That little drop in my stomach every time I take that first swipe of paint across bare wood (like that little feeling you get when you crest the top of a hill too fast and drop on the other side), and when I take that first swipe of taking the paint off!

6. The way white paint over dark wood looks when it is distressed.  Gets me every time! 

7. Distressing! <3 <3 <3!!!!

8. The expectation someone has when they drop of their furniture and are so excited at what it will look like when it's done.

9. The way my furniture room smells.

10. The moment I put the last piece of hardware back on and step back to see what it looks like done.

11. When someone comes in and squeals or claps their hands when they see their piece finished. I really do love this--it's contagious. :)

12. The way certain paint smells. My boys love to give me a hard time about this! They warn me about huffing. ;) lol

13. Running my hand across the top of a piece after the last coat of poly dries. It seriously feels like glass and I love that!

14. The sheen that buffing a waxed piece leaves (I always say it looks "softer" than poly--I guess you have to see it to know what I'm talking about).

15. That I have time to think and ponder about anything and everything when I'm working in my shop and it's quiet. Someone asked me once why I don't listen to music while I'm in there. I love the quiet! I can't find that anywhere else.

16. When I find a dent or scratch in a wood top and wonder how it got there.

17. When I find something in a drawer. One time I found a note from over 20 years ago that a girl had written to her best friend during class. I LOVE that! Every piece is a little piece of history and has some story to tell.

18. When I can sand ugly stains out of drawer or out of a top. It just reminds me that our imperfections can be erased also (through a loving Savior).

19. When I have an "aha!" moment--painting has taught me some great lessons.

20. That, if I choose, I can do anything I want with a piece of furniture. I can make it look like what I see in my head, and even if no one else likes it, it is my license to create something unique to me.

21. When people cry because they are happy with what I've done. This always touches me so deeply because, whether it's right or wrong, we have emotional attachments to things, especially when they've belonged to someone we love.

22. That I can get dirty. :)

23. A beautiful turned leg!

24. When someone tells me a story about a piece of furniture I'm buying. It almost never fails that they will tell me where it's been, who's refinished it before, and why they have to get rid of it.

25. Trying something new. It doesn't always work out, but I always learn something and at least I know I've tried!

26. This one's for Craig!--Getting to see my hubby when I'm working. ;)


I truly am so grateful for my many blessings and that a loving Heavenly Father knows me better than I know myself.  I am so lucky to do what I love and love what I do! 


And here is a lamp shade I finished today! :)


Linked up here:

Photobucket


{Primp}

Rosettes Tutorial

Here's a quick little "how to" on making fabric rosettes.  Again, sorry for the pictures--the lighting in my kitchen is obviously not so great!


First cut a strip of fabric anywhere from 1.25" to 2" wide.  The length depends on how big you want the rosette to be and how tight you roll it.  I used a fat quarter, which is 21" long.  The first rosette I made I  used the entire length and rolled it pretty tight.  It ended up being a little bigger than the size of a quarter.  The next one I used 42" and rolled it a little looser.  It was about the size of the side of my fist (there's a pic at the end of this post to show you the different sizes). 

As you can see, the strip does not have to be straight.  It won't matter because you are rolling it and won't see the edges.  


Next, I folded the strip in half and ironed it.


Then I made a knot at one end of the strip.  It won't matter if you get the knot a little closer or a little farther away from the end.  You can trim it off if it is too long.


Then I pinched the knot between my fingers with the length of the strip on the back side (so I could wrap it towards me and still see what I was doing).  You could do it the opposite way but it makes it harder to see where to put the glue.


Then I twisted the fabric a few times toward my hand and wrapped it around the knot.  I placed a dot of hot glue every quarter turn around the knot.


Keep twisting and turning, placing a glue dot every quarter turn.  You have a little time, while the glue dries, to move it around a little until it looks the way you want it to.  Tuck the last piece underneath and secure with another dot of glue.


This should be what your finished rosette looks like --or something similar.   ;)

Don't forget to pick the little glue strings off! :)  Apparently I didn't do a very good job of that on this one!


I used them for these new lampshades, but you could use them for so many different things!


Hope this gets your creative juices flowing!


Lamp Shade Makeover

I've been on the hunt for two cheap buffet lamps for my shop.  I happened to come across two when doing a little bargain hunting with my hubby.  When he saw them he wasn't too impressed, but I knew they could be transformed! :)  Here is what I finally decided to do with the shades.  


Before


 After

sorry for the blurry pic

Oh, so much better than the ruffled one I attempted the first time!  :)


 I had a few scraps of this french script fabric left over and I love it!  I didn't really have enough to do anything else with, but just enough for these two shades--it was meant to be. ;)

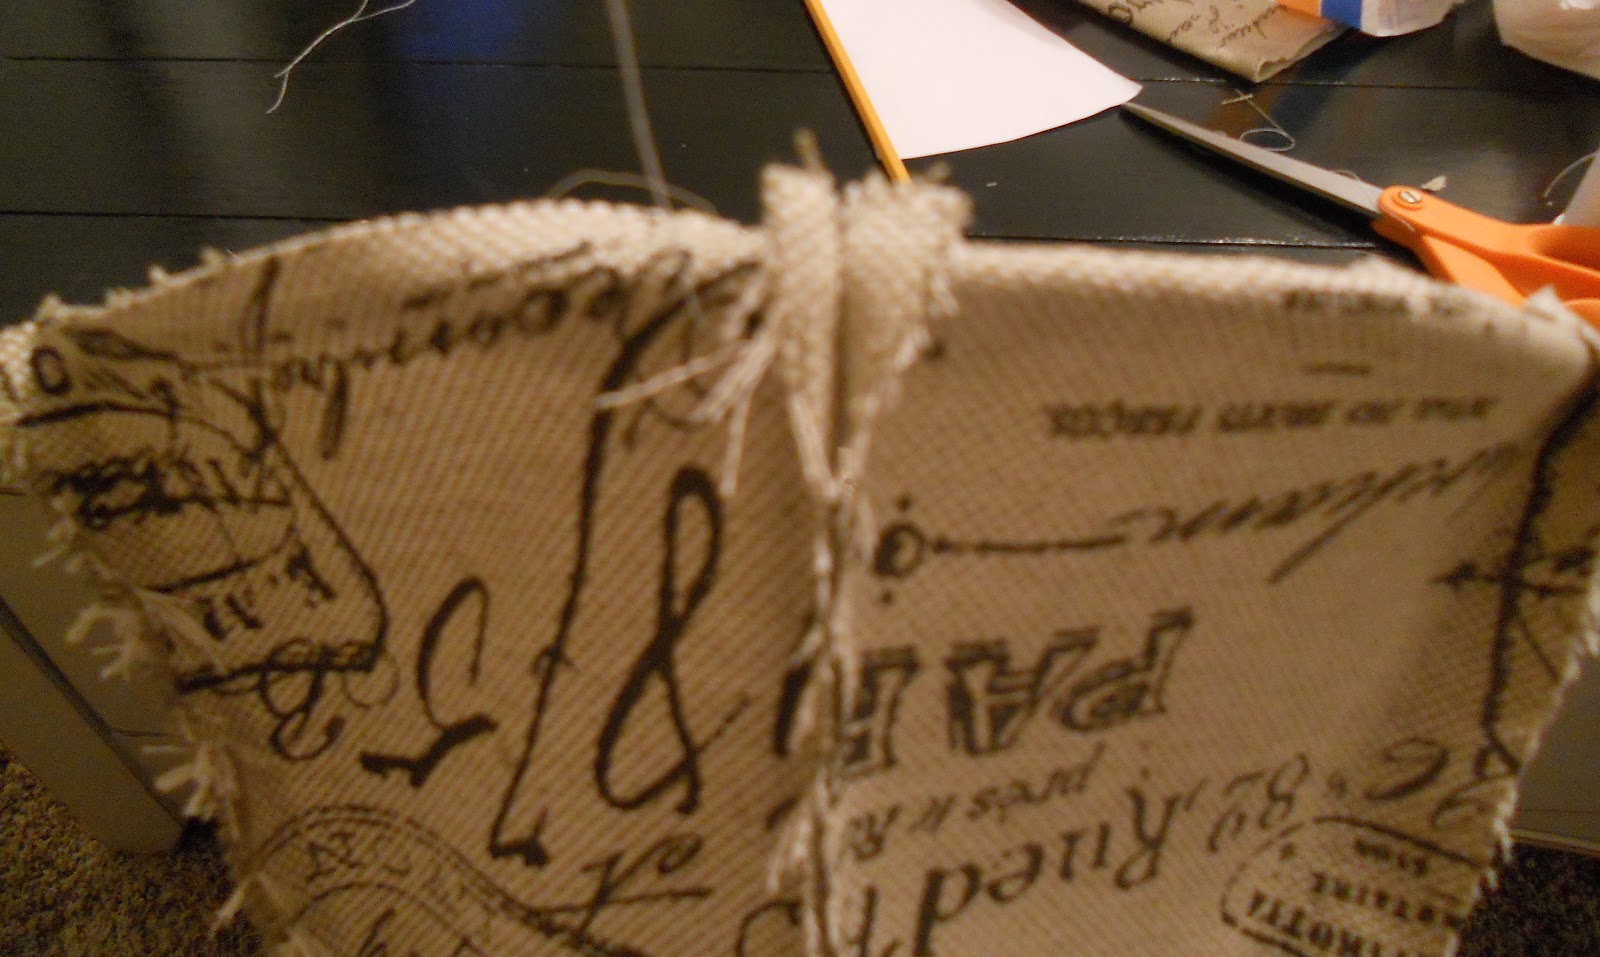
I love the fringe from the seam being on the outside!


I also made this cute little rosette to add a little detail.   


You can find the tutorial on making the lamp shade here and the tutorial for the rosettes here.  I will also post pics of the actual lamps when I get done (if I ever get done!).

Now I'm off to do the other one!


Linked up here:
In The Old Road

Tuesday, November 20, 2012

Lamp Shade Tutorial


This is one of the lamp shades off of the two buffet lamps I bought at a thrift store the other day (the ones my husband said, "Are you freakin' kidding me?!" about--lol). I'll show you the full before tomorrow, but this is the basic shade.  


Before


This is what I did with the other shade.  I saw a tutorial on Pinterest and thought I liked it, but when I finished it it was way too....ummmm....froo frooey (yes, that is my made up word!).  Anyway, I thought the ruffled shade would be cute for a little girl's room, but it wasn't really the look I was going for, so back to the drawing board....

The following is a tutorial for its new, more tailored look. :)


First thing was deconstruction.  I had to remove the trim work, which came off pretty easily and then the actual shade--which was a beast because I think they used industrial glue on it!  I finally took a pair of scissors to it and ended up hacking into pieces to get it off!


This is what it looked like when everything was off.  Love a clean slate! :)


Then I used a piece of paper to trace a pattern from one of the six sections.  I simply laid it underneath and traced along the wires (I had to roll the shade a little as I traced it).


After I cut out the pattern I traced another pattern, adding 1/2" on each side (you'll see why later).


I then used the larger pattern and traced it onto the backside of my material (just because it was lighter and I could see the pencil line better).


These are two of the pieces, cut out


I placed them wrong sides together because I actually wanted the seam to show on the outside


I then placed the smaller pattern (the one that was the actual size of the section of the shade) on my material and traced a line along the edge (just one side edge) so I had a line to sew along.


This is what it should look like after you sew the two pieces together.  I just used a basic line stitch because that's all I can do!  If you use a machine you could whip these babies out in no time!
Then I pulled the threads on the edge to fray it a little.


To do the next section I simply laid the next piece (wrong sides together) underneath the previous section and repeated.


Then I repeated by laying the pattern up next to the seam of the previous section and traced the line.


This is what it should look like with several sections sewn together.


When I was done sewing all the sections together I wrapped it around the shade and pinched the two loose sections together tight around the top of the shade and marked with a pencil, so I knew it would fit snuggly when I sewed the final pieces together.  When they were sewn together I slipped it over the top of the shade.  Mine happened to fit perfectly (knock on wood, cuz I have to do the other one tomorrow!).  


Then I had to secure the top and the bottom to the shade so I tucked the loose end underneath the wire and ran a running stitch around the bottom of the shade, making sure to catch the loose edge on the backside.  Notice on the right side it is tight and tucked and the left side is till loose.

I did this for both the top and the bottom.


You'll have to come back tomorrow to see the end result!  ;)

You can see the finished shade here.