Thursday, June 27, 2013

Hutch Redo

Quick little makeover today. 

 It's not often I get a piece of furniture that needs nothing done to it.  So, I was so happy when this hutch was dropped off and it was in great condition!  A little scuff sanding, a little wood putty for some tiny holes, and she was ready for primer and paint!  Love that. :)
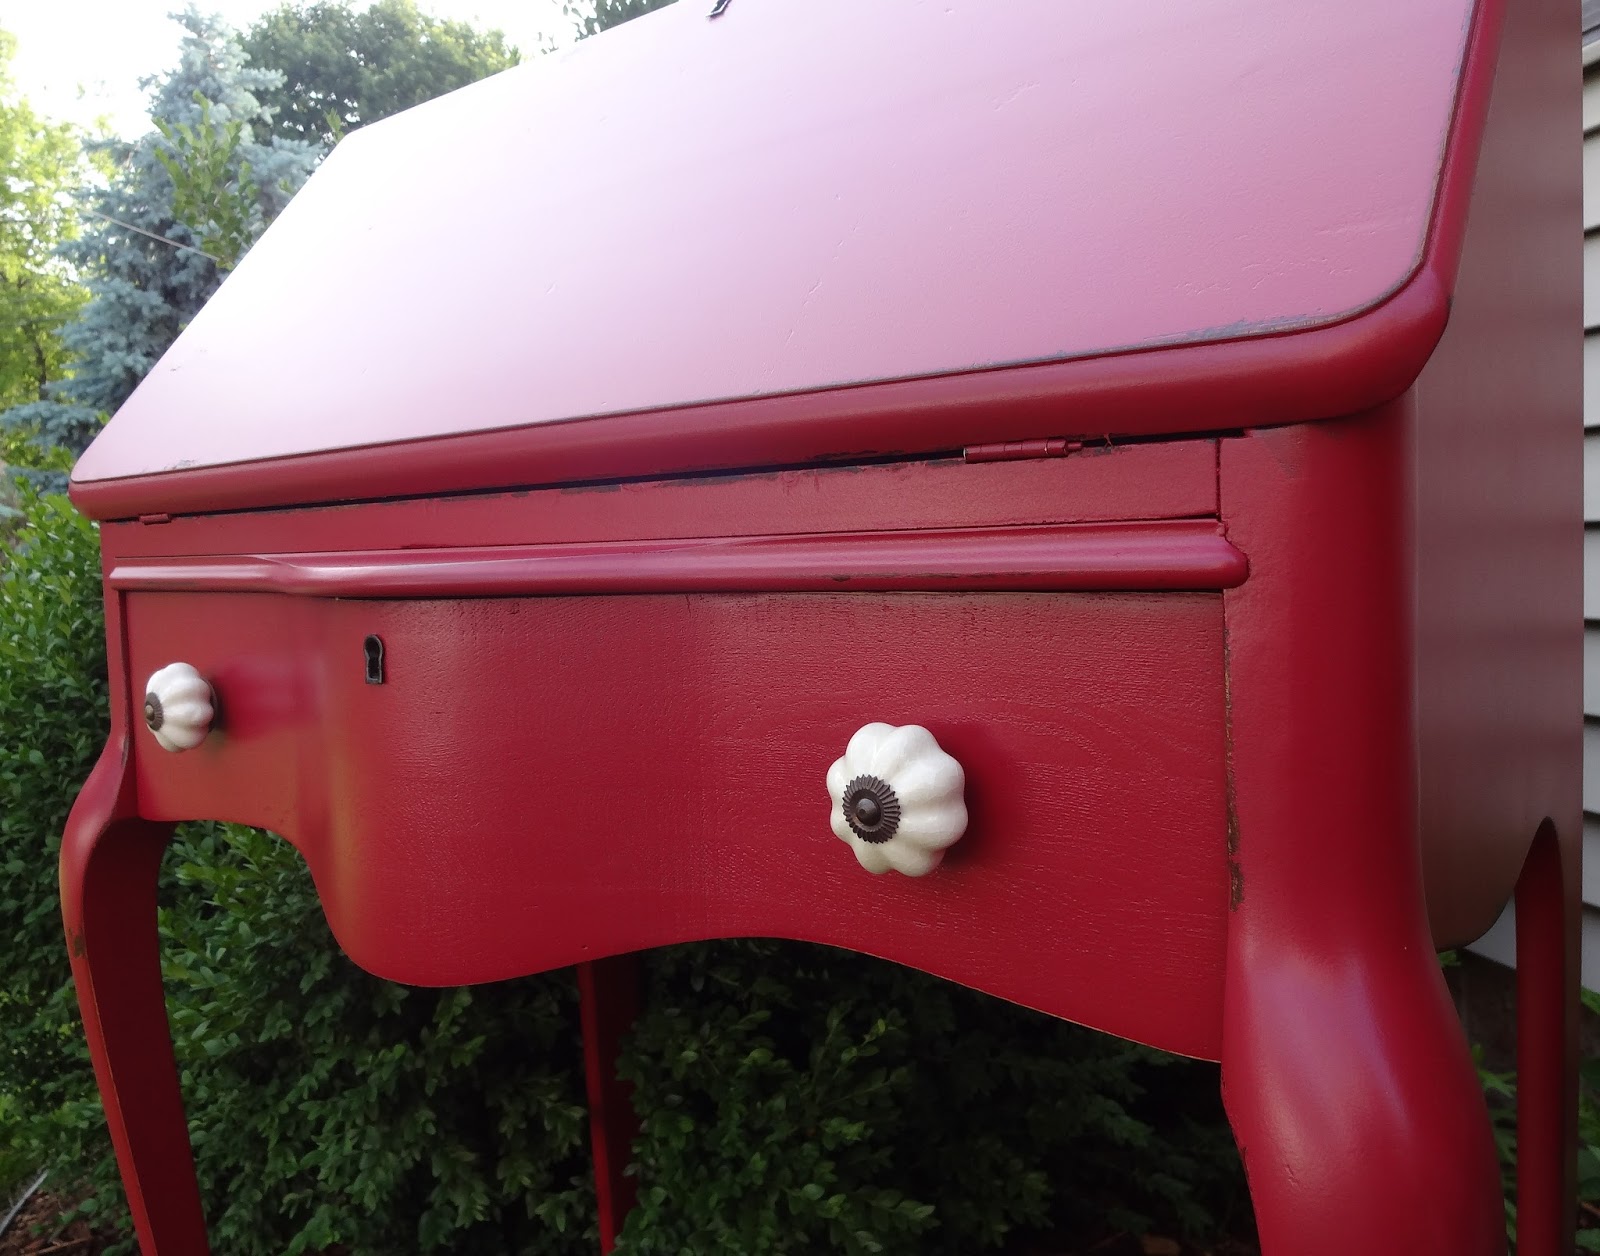


After

I had to take these in my garage because we were having a downpour at the moment. :)  


 Love these knobs that are actually at my local hardware store.  


Happy Weekend Everyone!!!
 

Tuesday, June 25, 2013

Radio Cabinet Revamp

Sometimes you find the good, the bad, and the ugly when you're on the hunt for a cute piece of furniture.  You definitely have to be able to see the inner  beauty.  I love the bones of this vintage radio cabinet, but she had seen better days for sure.  Unfortunately parts of her were too broken to be repaired so I just removed them and went from there!

*pic heavy post!! ;)


 Before

 I ended up just removing the top piece and adding a basket for storage.  I also had to remove the veneer from the front as it was peeling and warped and could not be glued down again.


After

Isn't she goooorgeous?!!  Of course, this is my completely unbiased opinion! ;)

 The color is Covington Blue from BM.  It's the perfect blue/green, soft and subtle.  I glazed it with straight stain (Dark Walnut) and then washed it back a little with mineral spirits so it wasn't quite so dark.  I just slightly dampened an old rag and started rubbing.  At first it looks like it's taking all the stain off--don't be scared.  Just keep working it.  You can always add more or take more off.  I don't really like the streaky look when glazing and using mineral spirits gives you a lot more control when using stain.


 I was inspired by these cute knobs I found at Hobby Lobby.  Now I want to put them on everything!  The only problem is they are not technically a knob and, even though, they would be adorable on a dresser or something that gets high use I'm not sure how practical they would be for that. 


 I firmly believe it's all in the details and this is one of the great ones. :)


 I absolutely love the beading detail on this front panel.  I actually did the first coat in cream and then rubbed through the blue to expose it.  I love how it makes the beading "glow".


 So lovely!!


 I used a sanding block and my paint scraper to distress.


I had my hubby cut a back for the cabinet and then used this fabric to line it.  It's such a sweet little detail.


Featured by:
Robin @ Fluster Buster
Sharon @ Elizabeth & Co.
Brooke @ Start at Home
Rita @ Suburbs Mama

Thank you so much ladies!


Linked up here:
Saturday:

Sunday: 

Monday:

Tuesday:

Wednesday:

Thursday:

Friday:


Friday, June 21, 2013

Red Red Wine {secretary redo}

This is one of the pieces I picked up during my daughter's softball tournament.  Truth be told, I still get excited when I find a cute little antique and tend to overlook a lot of crap "blemishes".  I loved the curvy drawer and the queen anne legs so I dismissed the cracked/peeling veneer and the inside (which literally had goo in it).  

It was a lot more work than I had anticipated.  I had such a hard time deciding what to do with this one, but I love how it turned out!


Before: this is after I had peeled the damaged veneer


 After

I had this color tucked away in my "idea book".  It's Red Red Wine by Behr.  I absolutely love it!  It's deep-not too bright, but not muddy at all.  I actually decided on it because when I started scuff sanding for prep the stain was a very deep red and I knew it would be a nightmare for bleed through if I didn't sand it all the way to the bare wood (which I was NOT willing to do!).  Painting it red alleviated that problem! :)


 Gotta love those long legs!


I had these knobs in my stash (which is growing!) and I love how they add a little feminine touch.


Long legs AND curves...lucky girl!!  I had to do 4 coats which makes distressing with a sanding block a little painful so I used my paint scraper instead.  I actually prefer the "chippy" look anyway. :)


The inside was a disaster, so I took the whole thing apart, painted all the pieces separately, and then reassembled it.  


Another one I want to keep....  lol

Featured by:
Christine @ The DIY Dreamer
&
Karen @ Redoux

Thanks ladies!

Linked up here:

Saturday:

Sunday: 

Monday:

Tuesday:

Wednesday:

Thursday:

Friday: