Sunday, April 29, 2012

My kinda dresser!

I am so stinkin' excited about this little dresser.  Why?  Cuz it's so stinkin' cute!!  My client (yep, that still sounds weird) said, "Distress the crap out of it."  So, I did, and I am IN LOVE with it!!  Craig thought I was nuts last night when I was showing it to him--I could hardly contain myself.  Be forwarned if you don't like distressing, don't look!!  ;)


Before


After


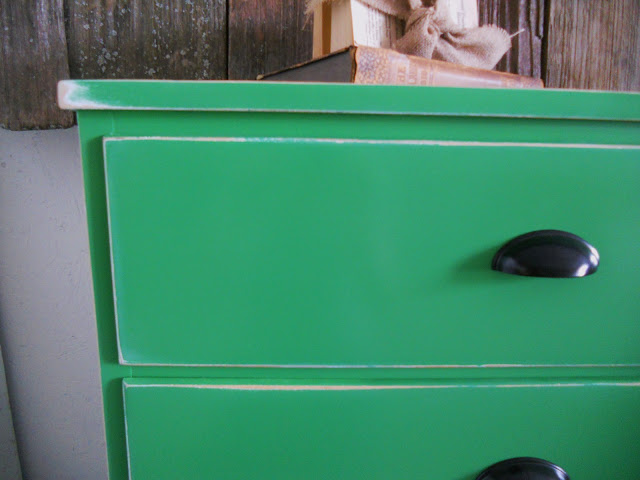
The original hardware were pulls with the winged backplates--not a big fan. I absolutely love how these knobs compliment the color and the worn feel this dresser has now.


This seriously makes my heart beat a little bit faster.  lol  (I already know I'm crazy, thank you very much!). :)


She told me I could do a little something extra if I wanted to.  I thought it would be fun to do her birthday numbers down the front.  I like how they're subtle.


I used 3 different grits of sandpaper --120, 180, and 220.


SOLD

undercoat = Greek Villa SW
topcoat = Urbane Bronze SW
knobs = HL


Saturday, April 28, 2012

Chalkboard

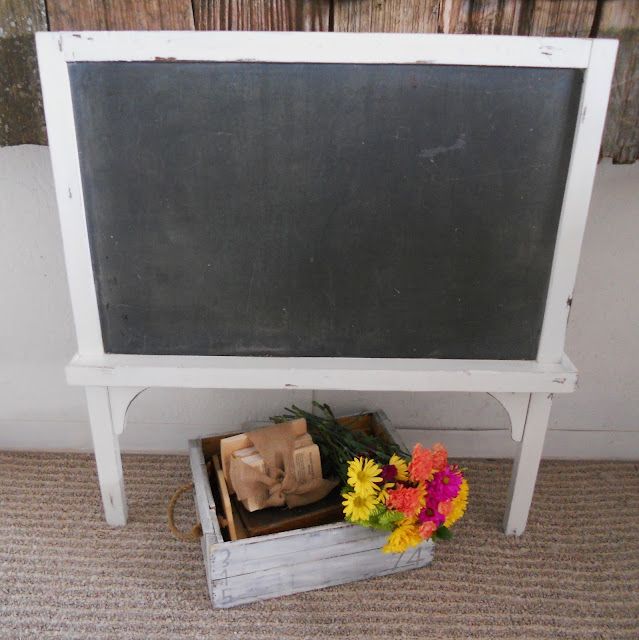
This cute not-so-little chalkboard has been sitting in my shop for at least 6 months.  I'm so happy it finally has a home!  Yea!


 Before


 After


 The frame was a lot rougher than I had originally thought, so I distressed it a little more than I had intended.  It just didn't look right all new and white. :)


Love all the dents and dings--she has a lot of character!


I think she might even be featured in a wedding! :)

SOLD

color = Greek Villa SW
dry brushed with Creme SW

Friday, April 27, 2012

Side table

Love how feminine and delicate this side table looks.  I had already sanded the top down in the before pic--couldn't wait to get started on it!  Another rough looking top with mahogany underneath the old varnish--love when that happens!


 Before


 After


Love, love, love this pedestal!


Such a beautiful top...no way I could paint over it!  I like the contrasting rim of the black.


Ooh la la!  :)


Thursday, April 26, 2012

Church Pew

Yep-you read it right.  This is a 10 foot! church pew.  I don't think many people can say they've painted one of these babies. :)


 Before

It had a yellowish/greenish thin wash over the wood. 


 After


We warmed it up with a golden yellow color.  After I finished painting it the color was just a little too bright and it didn't "feel" right for what this piece is, so I decided to glaze it with straight stain.  Love the color so much more like this and now it feels like what it is (which is an old church pew!). :)


 Absolutely am in love with this end piece.  Beautifully ornate, curvy, and chunky!


Also love the distressing on this one!  Used a soft, dark brown primer because the wood was blond and the distressing wouldn't show very well under the yellow otherwise.


Hard to take pics of something this big!  I can't wait to see it in it's new home instead of my ugly shop! 


color = Anjou Pear SW
stain = Dark Walnut Minwax
primer = Black Fox SW

Wednesday, April 25, 2012

Chair redo

This cute little chair was gifted to Ania.  It needed a tiny makeover to go with her new room. :)


 Before


 After

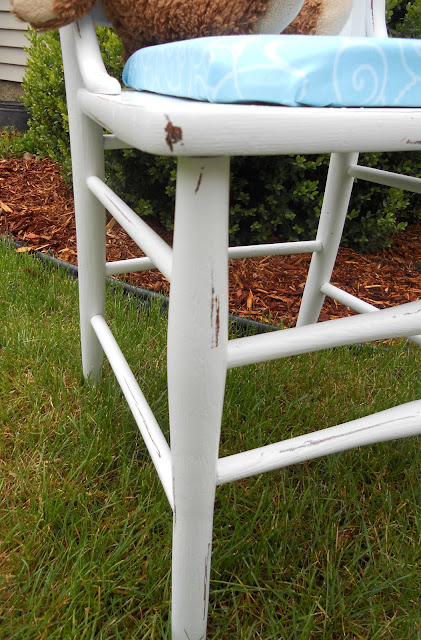
Gave her a few coats of bright white and new fabric Ania (yes, I conceded what I wanted for what she wanted ;) ) picked out for the seat.  The old cushion was not foam and it was filthy as sin, but it was shaped.  Had to use a new piece of foam and I'm not sure I like how boxy it looks, but I think I'll leave it for now.


 Loved the leaf pattern so I highlighted it by lightly dry brushing a dark turquoise over the white.


 Yep, this is her favorite teddy. :)


 Just lightly distressed.


Love the turquoise with a pop of purple! So fun.


Tuesday, April 24, 2012

Dresser in Green

I've had a few people ask me exactly how to go about redoing a piece of furniture, so I thought I would take you through a step-by-step with this little dresser.


Before

The first thing I do is take all the hardware off, including any hinges.  I don't worry about cleaning anything because the next step is sanding.


Second, I sand the piece down.  In this case, it was painted with an oil base paint before and it was chipping and peeling.  I didn't want that under my paint (because it doesn't give a smooth surface to work with and it can cause problems with the finish--which can be a big ol' pain!).  I used a piece of 80 grit (which is very aggressive and should only be used on wood or thick veneer) sand paper on my orbital sander.  If the piece is already wood or had been previously painted and the paint is in good condition you only need to lightly sand (scuff sand) with a 220 grit, just to rough up the surface for adhesion.

After sanding I wipe it down with a tack cloth to remove any dust and fill in the holes from the hardware if I know I'm going to be using different knobs or pulls.


Then I prime.  I've used latex and oil primers and brushed them on, but my new favorite is a primer in a spray can called Painters Touch by Rustoleum.  It's goes on smooth and leaves a nice chalky finish.  I've never had any problem spraying it over anything (some primers will bead up or run if you spray them over certain finishes).  So, I just have to say it one more time--LOVE THIS STUFF!


I normally do two coats of my color (sometimes 3 depending on coverage).  Normally, I sand between coats with 220 grit or a fine sanding pad.  After the final coat I distress (usually with a sanding block, sometimes with a paint scraper) and then sand with at least 320.  If you don't plan on using a clear coat do not sand the last coat of paint because it leaves it dull.  I always clear coat so I always sand the top coat.

Then I do two coats of poly (sanding with at least a 320 btwn coats) usually with a semi-gloss and put the hardware (which I usually end up painting, too) back on.   


And, here's the after....


 I've learned not to make any judgement calls until it's completely done, because distressing and hardware make a huge difference.


It is not quite this bright....having such a hard time with my camera lately and taking pictures in natural lighting.  Any tips???


color = Grasshopper SW

This one's taken (for a Dr. Suess room!!). :)