
This is one of the lamp shades off of the two buffet lamps I bought at a thrift store the other day (the ones my husband said, "Are you freakin' kidding me?!" about--lol). I'll show you the full before tomorrow, but this is the basic shade.

Before

This is what I did with the other shade. I saw a tutorial on Pinterest and thought I liked it, but when I finished it it was way too....ummmm....froo frooey (yes, that is my made up word!). Anyway, I thought the ruffled shade would be cute for a little girl's room, but it wasn't really the look I was going for, so back to the drawing board....
The following is a tutorial for its new, more tailored look. :)
First thing was deconstruction. I had to remove the trim work, which came off pretty easily and then the actual shade--which was a beast because I think they used industrial glue on it! I finally took a pair of scissors to it and ended up hacking into pieces to get it off!

This is what it looked like when everything was off. Love a clean slate! :)

Then I used a piece of paper to trace a pattern from one of the six sections. I simply laid it underneath and traced along the wires (I had to roll the shade a little as I traced it).

After I cut out the pattern I traced another pattern, adding 1/2" on each side (you'll see why later).

I then used the larger pattern and traced it onto the backside of my material (just because it was lighter and I could see the pencil line better).

These are two of the pieces, cut out

I placed them wrong sides together because I actually wanted the seam to show on the outside

I then placed the smaller pattern (the one that was the actual size of the section of the shade) on my material and traced a line along the edge (just one side edge) so I had a line to sew along.

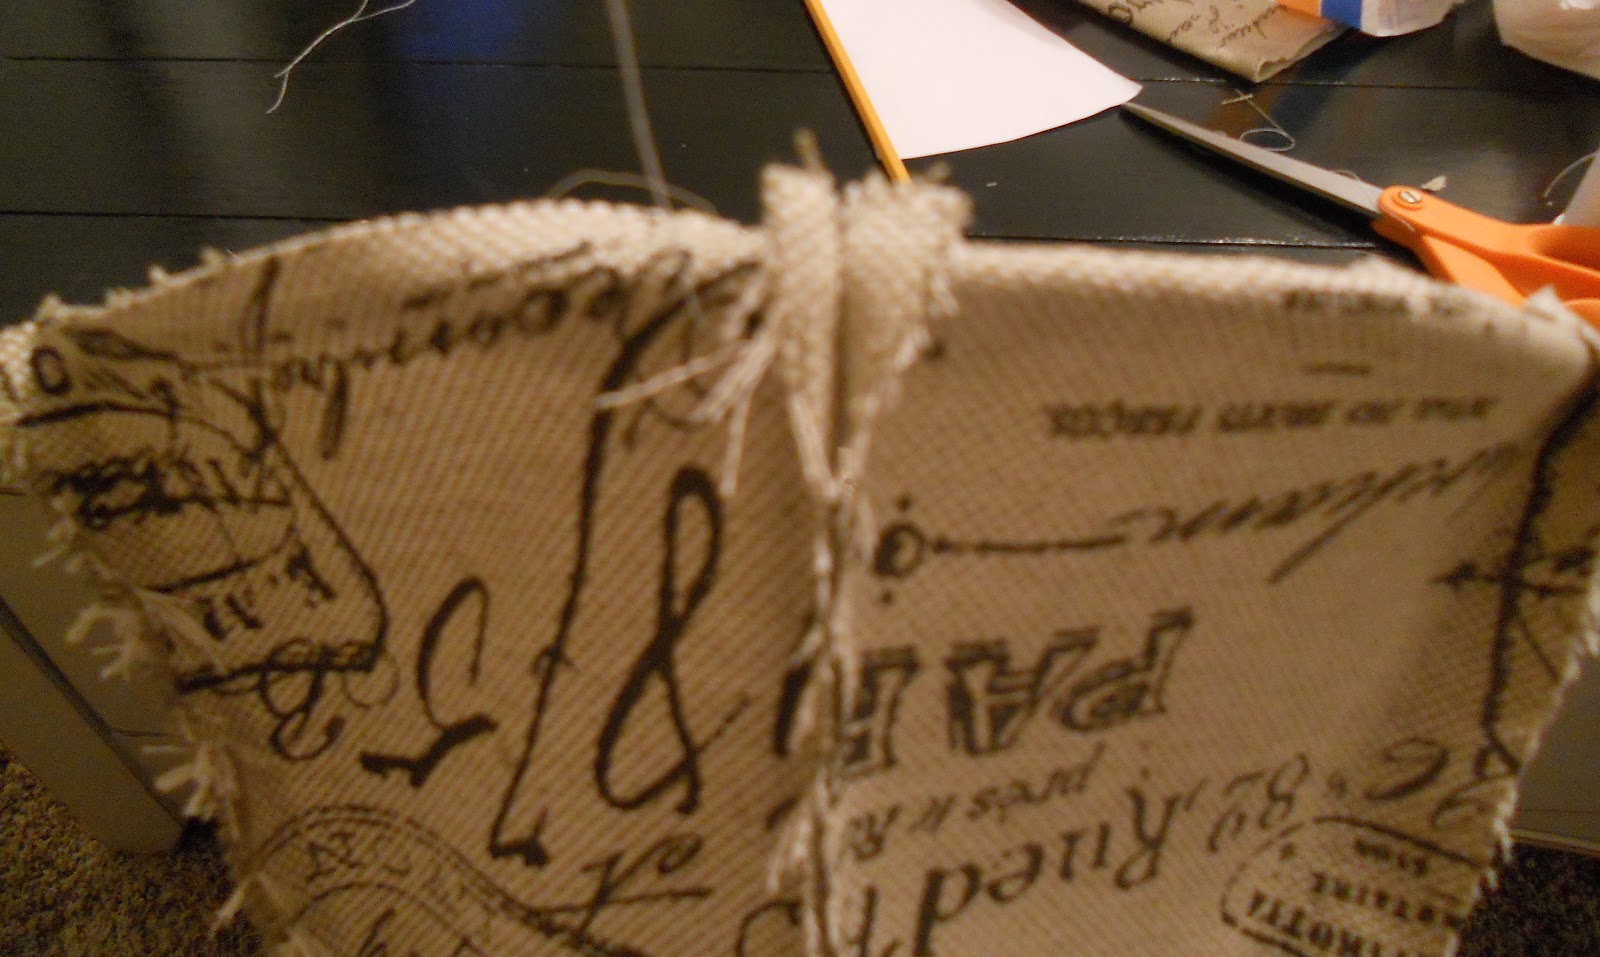
This is what it should look like after you sew the two pieces together. I just used a basic line stitch because that's all I can do! If you use a machine you could whip these babies out in no time!

Then I pulled the threads on the edge to fray it a little.
To do the next section I simply laid the next piece (wrong sides together) underneath the previous section and repeated.

Then I repeated by laying the pattern up next to the seam of the previous section and traced the line.

This is what it should look like with several sections sewn together.

When I was done sewing all the sections together I wrapped it around the shade and pinched the two loose sections together tight around the top of the shade and marked with a pencil, so I knew it would fit snuggly when I sewed the final pieces together. When they were sewn together I slipped it over the top of the shade. Mine happened to fit perfectly (knock on wood, cuz I have to do the other one tomorrow!).
Then I had to secure the top and the bottom to the shade so I tucked the loose end underneath the wire and ran a running stitch around the bottom of the shade, making sure to catch the loose edge on the backside. Notice on the right side it is tight and tucked and the left side is till loose.
I did this for both the top and the bottom.
Looks great so far :) I love the fabric and the fact that the seams are on the outside so that there is some fringe. Gives it a nice detail. Can't wait to see the final product tomorrow!
ReplyDeleteLooking good!
ReplyDeleteI wanted to let you know that I tried to grab your button & the code copies over to my page but not the picture. I don't know if the HTML code is broken somehow or if it is something on my end. Patti
www.patricia-krank.blogspot.com
Old Things New
Really cute idea, love the frayed edges on the outside and the rolled flower is the perfect finishing touch! Can't wait to see it all done!!
ReplyDelete