Wednesday, January 25, 2012

What's next and a THANK YOU!

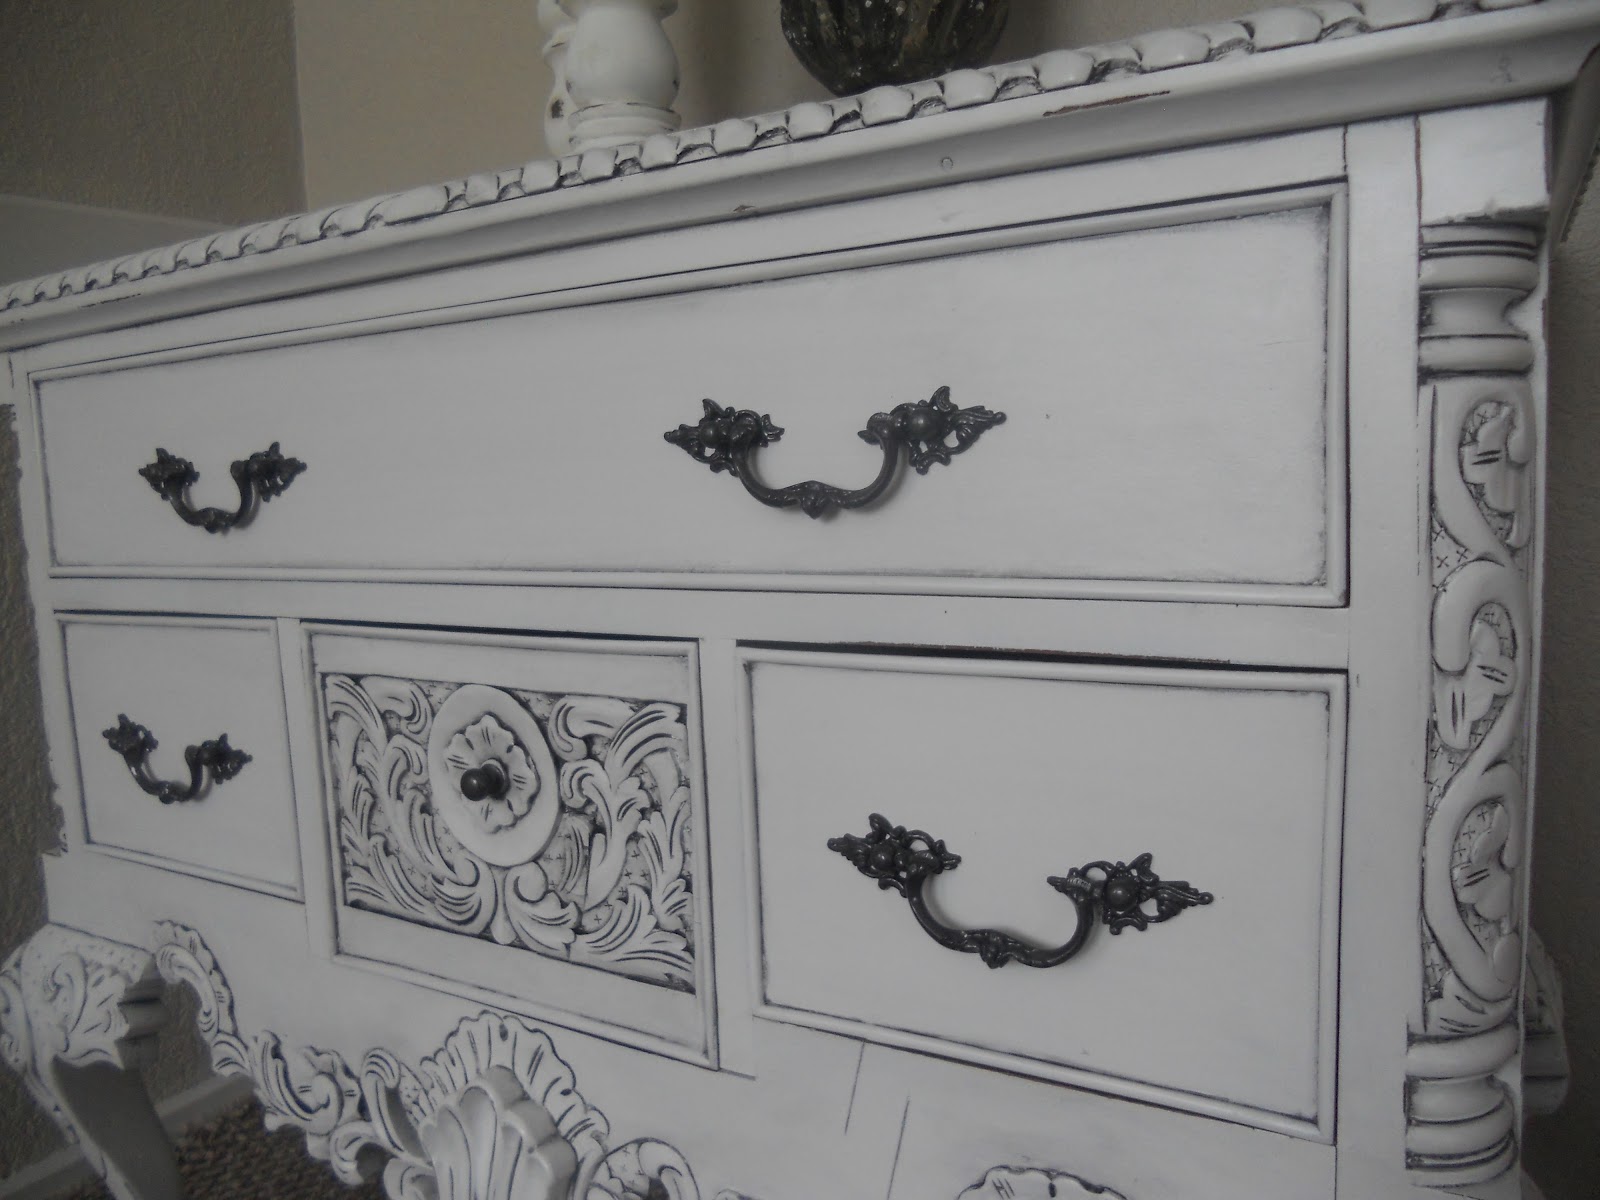
I didn't post anything last week and some of you have been asking me why. :)  I haven't been slacking, I promise! Last week I worked on (and finished) a dining room set for one of my friends.  I didn't post pics because the table was too big to fit in my "room" and I wasn't about to take "after" shots in my workshop--cuz it's ugly!  May have pics later.  I did finish another buffet/tv console/whatever-you-want-it-to be yesterday, but can't take pics until tonight, so I'll give you a sneak peek... ;)

In the meantime, I just wanted to tell all of you thank you!  This past year was a little rough and redoing furniture has been a great creative outlet for me.  I love doing it, I (usually) love the results, but most of all I love the feedback I get from all of you.  It's so great to see people excited about redoing their own furniture and that they're excited about looking at mine!  I love all the questions, comments, and proddings I get to continue (and hurry up about it!). :)  So, from the bottom of my heart, thank you for making this such a great experience for me!

What's next:


Tuesday, January 17, 2012

Accent Table

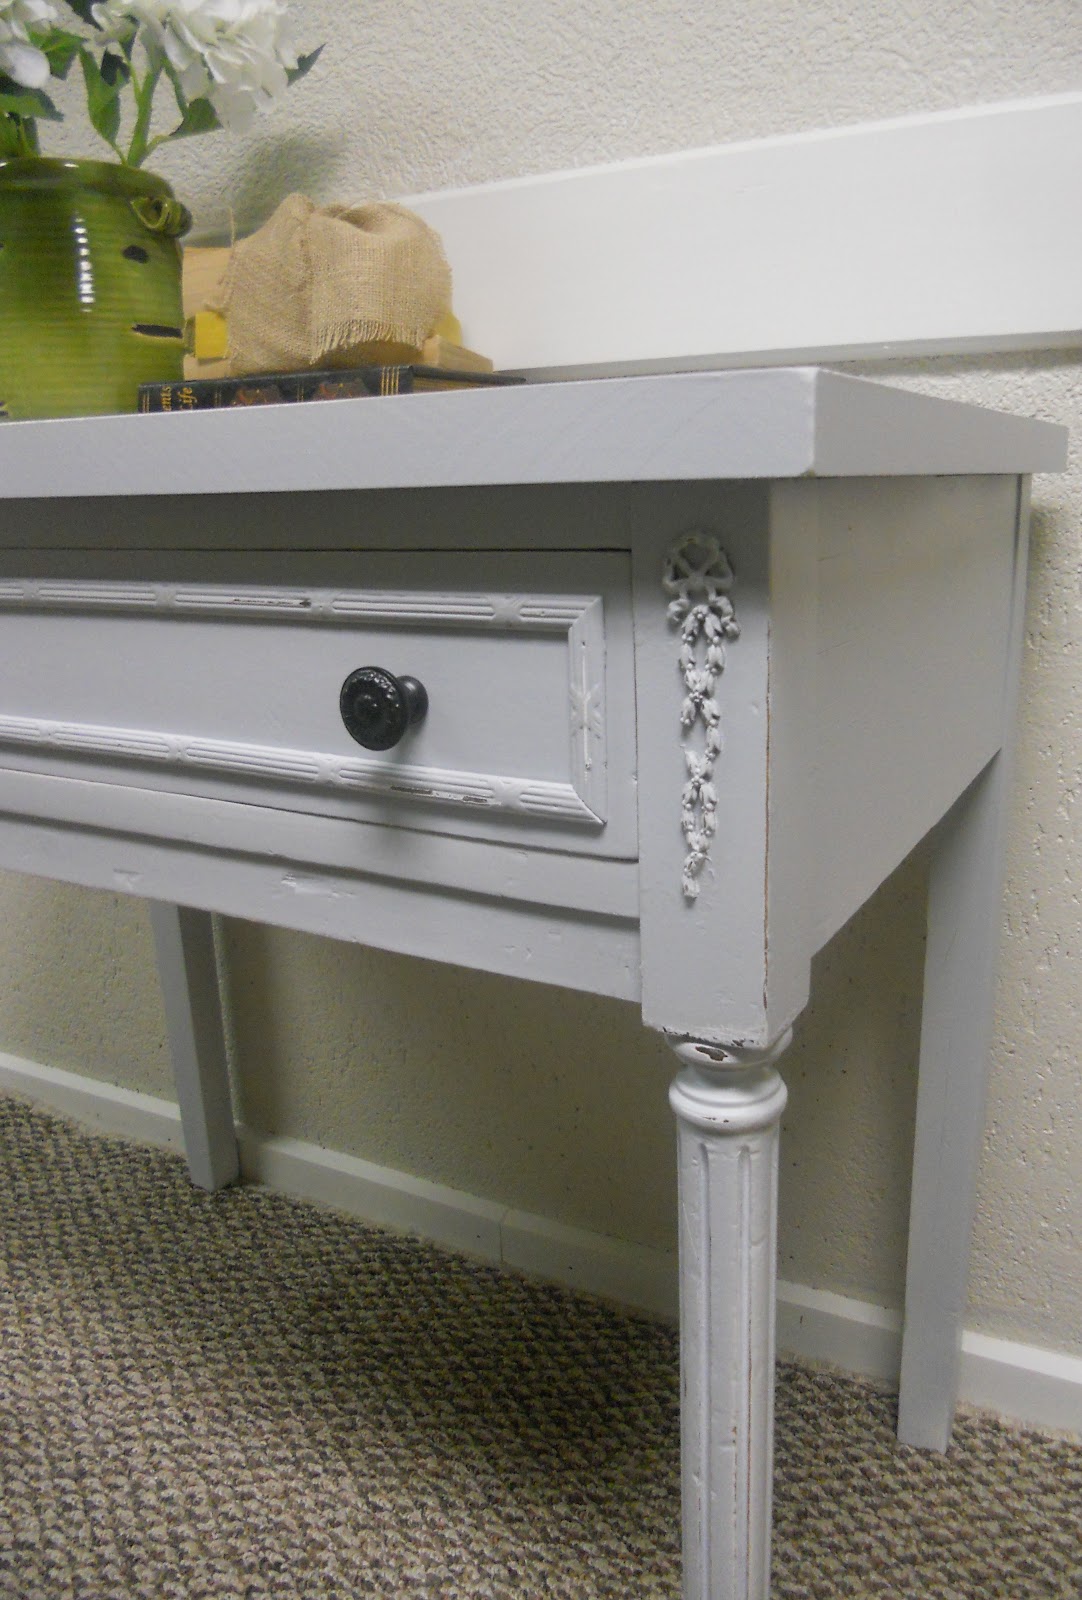
Love this little table a friend found buried in the same garage as this cabinet.  We had talked about doing it black, but when I went to sand it I wasn't feelin' it.  Sanded through the varnish on the top and it had a beautiful wood grain, so decided to leave the top natural--with approval, of course :) --and do the legs white. 

Before


After


I like the contrast of the white with the dark top--still one of my favorite combos.

She has great legs! :)


Had to include this shot just because I like it.

I like how feminine this looks--think that would have been totally lost if I had done it black. 

color = Westhighland White SW
stain = Red Mahogony Minwax
poly = Varathane Semi-gloss

Friday, January 13, 2012

cabinet

Found this little cabinet in a garage full of treasures.  The before pic doesn't quite do justice to its hideousness.  It was pea (like canned peas) green with a brown stain over the top and then lacquered, and the inside was covered in orange, wood-grain contact paper.  Not good. (But, I still loved the shape of it.)


 Before

 It's washed out in this pic...it was bright orange!

 I knew I wanted to distress this piece and I didn't want all that yummy green showing so I decided the only option was to strip it (cuz I didn't want to use an entire roll of sand paper and a week of my life sanding through that lacquer!).  It took 3 applications of stripper to get through the top coat and paint. (I actually liked it like this better than I did the original!)


Here she is 8 hours later.....


I just had to get this out of my system.  I love heavy distressing....but, since I'm trying to sell it I don't always do what I want to ;).  This cabinet was the perfect shape for the look I wanted.  So, even if this never sells I had so much fun doing it and my first thought when I was done was, "Yeup, I like it." :)


 After


 I actually really liked the original pulls-just sprayed them white and distressed.


 I told Craig I just wanted to get done painting this one so I could put the knobs on. I'm in love with them--so sweet.

Inside of the drawer.


Primer = Painter's Touch in white
Undercoat = Gris SW
Topcoat = Snowbound SW
Clear coat = Varathane semi-gloss

Tuesday, January 10, 2012

Vanity

Another great find.  What I love about it?  Everything!  The detail, the shape, the feet, the mirror... I really like the look of a few pieces of furniture I've seen at Hobby Lobby-black with a pretty heavy rub through. I've been waiting for the right piece to try it on and when I saw this I couldn't pass it up.   

Before


After


There are tutorials all over the internet on how to do a rub through.  I used denatured alcohol and 0000 steel wool.  I really like how it turned out and it was a lot less labor intensive then distressing with a sanding block (which also has a tendency to go all the way down to the bare wood, which I didn't want).  I loved the tone of the wood on this before I painted and wanted that to show.  Tip:  don't rub too long in one spot, because once you break the surface of the paint it comes off fast.  


 Did I mention my foot fetish?


I was afraid if I painted this black I would lose some of the detailing, but I love how some of it is subtle but still noticable, and then other parts just pop.

This really is a beautiful piece of furniture.  Pics don't do it justice (it's either the camera, the lighting, or the photographer!).

color = stock black in enamel from SW
clear coat = varathane in semi-gloss

46" W x 18" D x 71" H
SOLD

Saturday, January 7, 2012

Pedestal Desk

Was so excited to find this great pedestal desk.  It was in almost perfect condition, just needed a little updating--in my opinion. ;)

Before

After


I usually like the contrast of dark hardware on a light colored piece, but I love how replacing the pulls with knobs and painting them all white gives it a soft, clean look.


Tip for a great finish:  Sand, sand, sand....between every coat....yup, every one (sometimes that's a lot of sanding, but it's totally worth it!).  220 btwn coats is good, and then I like 320  or finer for final coat.


Primed with an oil based primer (SW) and painted Westlhighland White (SW).

SOLD

Tuesday, January 3, 2012

Desk and chair makeover

The before picture of this desk is pretty graphic. :o  Have you ever noticed that when you decide to do major cleaning it always looks way worse before it looks better.  This is kind of like that. :) 


 Before

When I went to prep it I found all the veneer was cracked and peeling. There were trim pieces on the front of the drawer, so I removed them, peeled all the veneer off, sanded, and replaced the trim pieces.  There were two layers off veneer on the top and it was too damaged to fix, so we replaced the entire top.

 Before

The chair was painted with an oil base paint and hadn't been primed, so I was able to remove the paint by sanding and scraping it.  It took forever and I ended up stabbing myself with the chisel.  I dutifully ignored the blood on the shop floor and kept sanding.  Craig says I'm not allowed to use the tools anymore. ;)

 After


color = Samover Silver SW

Sunday, January 1, 2012

Chippendale Lowboy

Before I show this one I just want you to know it's a reproduction, so don't yell at me ;).  And, although it is beautiful, and beautifully made, the top was a little rough and it had some pretty big scratches.  I actually did a deal in the Toys R Us parking lot for it.  ;)  This has been my favorite redo so far.

 Before

It really was beautiful and I almost decided to strip it and restain it, but I felt like all that gorgeous detail was just lost in the wood. 


After


Primed and painted (Snowbound SW) and then glazed with a latex glaze tinted black. 

One thing I hate is when someone says, "It's so easy." and then it's not!  Glazing isn't rocket science, but you do have to get a feel for the product and the piece of furniture.  Here's a few things I've learned:

  1. Use an oil base glaze over oil paint and a latex glaze over latex/acrylic paint.  (Sounds like a no-brainer, but the first time I used glaze I used an oil glaze over latex and although it didn't gum up, it was a little harder to work with.)  Tint oil glaze with oil stain/paint and latex glaze with water-based products.  Latex glaze dries faster, but it's easier to work with and the clean-up is easy.
  2. I use an old paint brush to apply the glaze because it gets in all the little nooks and crannies (which is where you want the glaze to be!).  You could use a sponge brush, too, but I always have an old paint brush handy. Brush it on and work small areas at a time or the glaze will dry and become more difficult to wipe off.
  3. You can use a dry cloth or a damp cloth to wipe off the glaze (I normally wipe it off within a minute of applying it).  A dry cloth will leave more product on the piece--if that's the look you want, go for it!  A damp cloth takes off more product and I like this a little better.  The wetter the cloth the more product will come off.  If the cloth is too damp and you wipe too many times in the same spot you can lift the paint. 
  4. Wipe the opposite direction of the detail.  *the fan on the bottom edge of the buffet was vertical detail, so I wiped horizontally and then used the edge of the cloth to lightly run down the middle of the fan to remove the excess glaze
  5. Don't be afraid to play with it! If you take off too much you can always apply more, if you take off too little you can always sand (wet sanding with a superfine sanding pad will take off a little product and wet sanding with a fine sanding pad will take off most "oops" or left over glaze that dried where you didn't want it to). *wet sanding=dampening a sanding pad


    Glazing this piece brought out details I didn't even see when it was just the wood.  I love the detail on the corners!
    My favorite part about this are the feet!  You don't see ball and claw feet very much anymore and these are just awesome!  I think I might have a foot fetish now. ;)


    I LOVE them and the finish feels like silk! 


    This is the original hardware spray painted with a soft metallic. 
    SOLD
    36" W x 18" D x 32" H